You get one chance to make your Gold Coast condo or row home stand out online. In a neighborhood where buyers compare lake views, full‑service buildings, and historic character side by side, your photos and staging do the heavy lifting. If you want faster traction and stronger offers, your prep should be strategic, design‑minded, and tailored to how urban buyers shop. In this guide, you’ll learn what to stage, how to prep for photography, which shots to prioritize, and how to navigate building rules without stress. Let’s dive in.
Why presentation matters in the Gold Coast
The Gold Coast offers everything from compact one‑bedroom condos to grand historic rowhomes and amenity‑rich towers. Positioning your home well against this mix is key. Redfin’s Gold Coast snapshot in Jan 2026 reported a median sale price near $499,000, while Zillow’s Gold Coast index showed a typical value near $378,418 as of Dec 2025. Different data sets track different unit mixes and timeframes, so numbers shift, but the takeaway is clear: you face well‑presented competition in every price band. (Redfin neighborhood overview, Zillow Gold Coast home values)
Professional presentation pays off. National guidance shows that staging influences buyer perception and can reduce days on market. Photos are often the gateway that drives showings. (NAR staging report, Why pro photos matter)
Stage with a condo‑first mindset
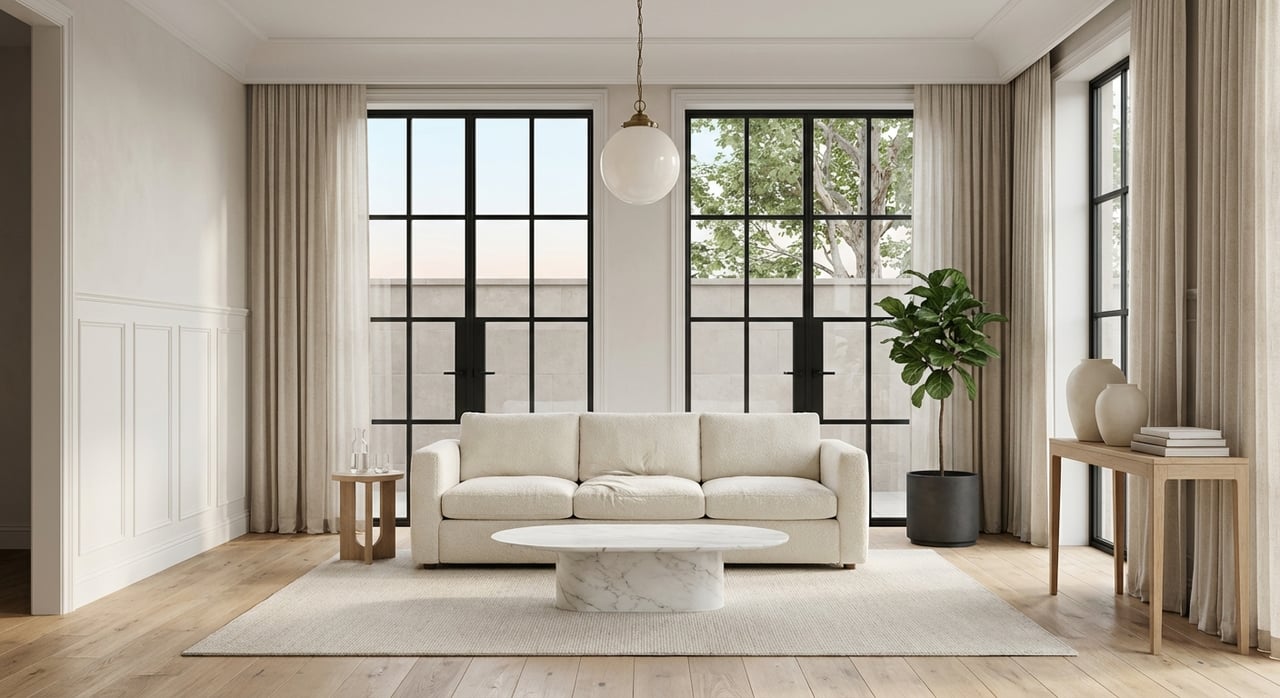
Focus on the three rooms that sell
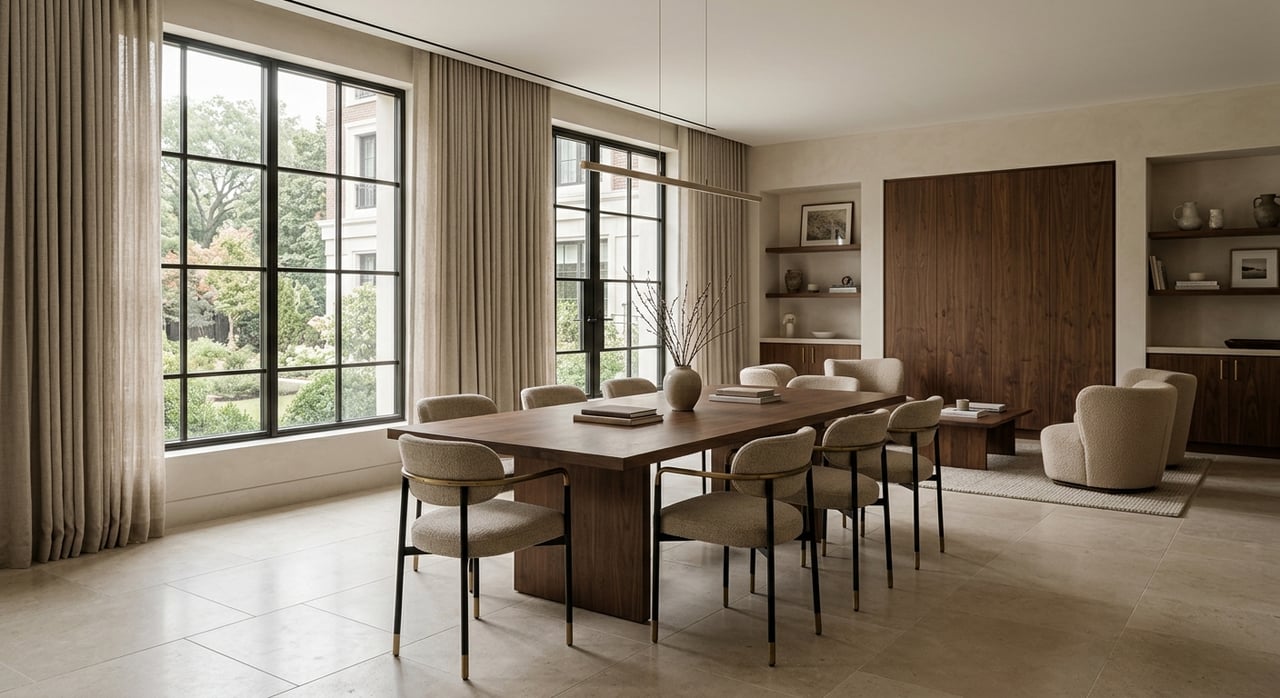
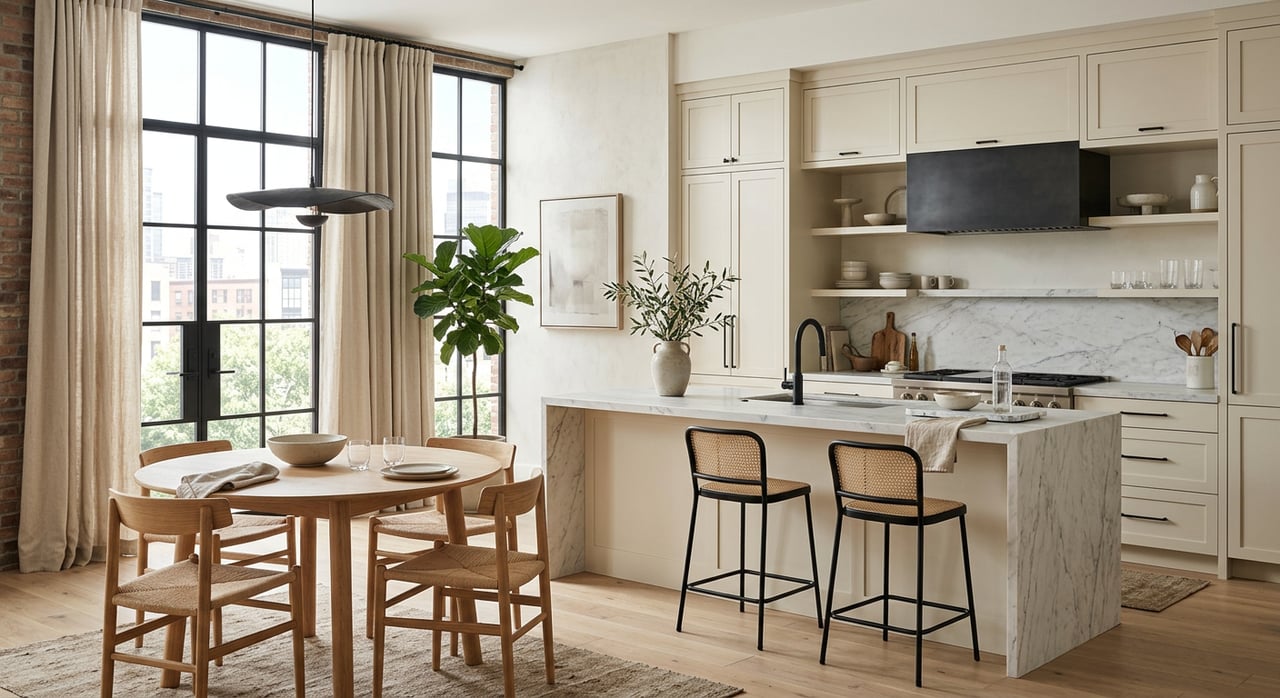
Prioritize the living room, primary bedroom, and kitchen. These rooms shape first impressions and tend to influence offers. Keep styling restrained, layered, and neutral so spaces feel calm and upscale in photos. Swap dated hardware or lighting if the fixes are low cost and high impact. (NAR staging report)
Scale furniture for city footprints
In compact floor plans, circulation and sight lines matter. Pull out bulky pieces, keep only what defines the function of the room, and anchor with one or two quality items. In the living room, create a conversational grouping that does not block the windows. Buyers read scale from photos, so give them space to breathe.
Let the view and light lead
If you have lake, skyline, or treetop views, make them the hero. Clear window sills, lift shades, and choose low‑profile window treatments that do not compete with the scene. If the balcony is a feature, stage with scaled outdoor furniture and a single planter so the area reads as a usable extension of the living room.
Elevate the bed and bath
Think hotel‑level polish. Use crisp white or soft‑neutral bedding with a layered throw and two to three pillows. In baths, remove all personal items, add plush towels, and keep counters spotless. The goal is a refined, move‑in‑ready look that photographs cleanly without feeling sterile.
Showcase building amenities
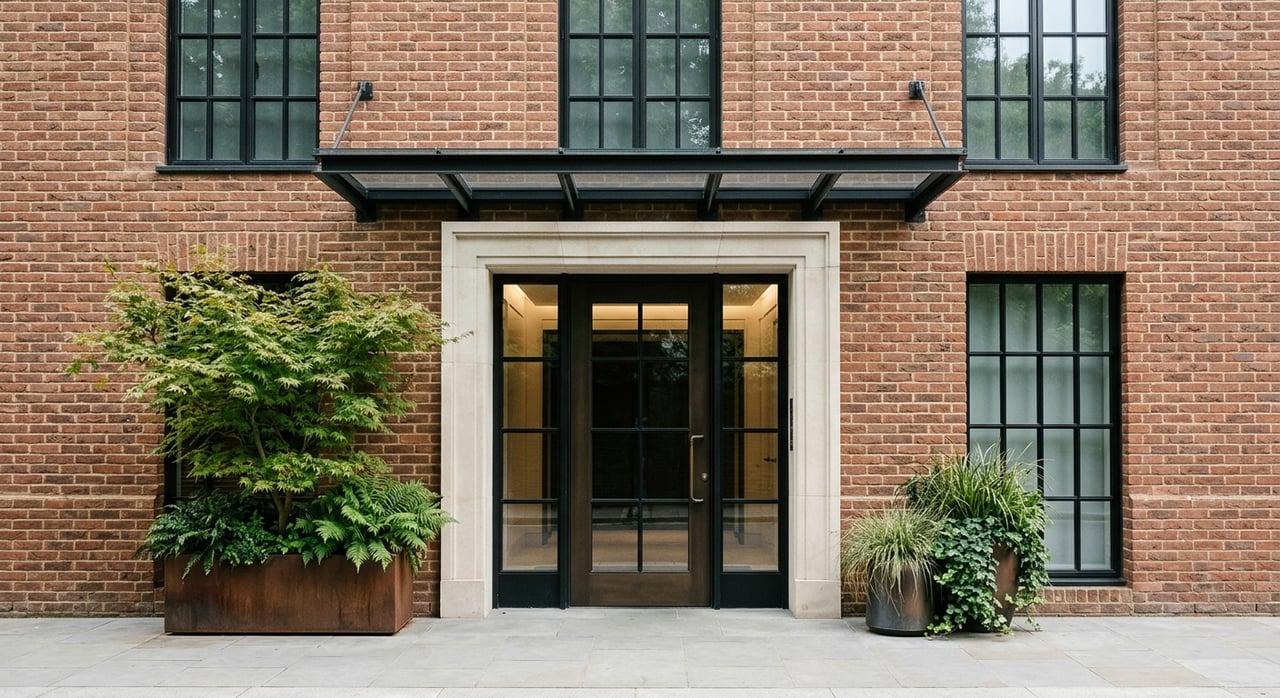
Many Gold Coast buyers weigh services and amenities heavily. Where building rules allow, capture the lobby, fitness center, rooftop, bike room, or garage to support perceived value. Always confirm permission with management before photographing shared spaces.
Prep your space for the camera
Declutter, depersonalize, then deep clean
Remove personal photos, excess decor, and anything that distracts the eye. Edit closets to about half full so storage reads generous. Follow a room‑by‑room deep‑clean checklist so glass, grout, and stainless surfaces are flawless. (Deep‑clean checklist)
Light and temperature matter
Open shades, turn on every interior light, and replace mismatched bulbs with warm, uniform color temperature. Set a comfortable thermostat before showings. For a dramatic listing cover image, you can plan a twilight exterior or day‑to‑dusk edit to create a warm glow, as long as the final image remains realistic. (Day‑to‑dusk best practices)
Hide visual noise
Clear kitchen and bath counters, conceal trash and pet items, coil and tuck cords, and remove small rugs that break up the floor. These micro‑edits make rooms feel larger and cleaner in photos.
What to shoot: your photo plan
A clear brief helps your photographer capture what counts for urban buyers who scroll on mobile first.
Must‑have images
- Hero image that sells the story. Often the living room framed to show the view, or a clean exterior or balcony shot.
- Living room from 2 to 4 angles that show flow and seating scale.
- Kitchen vignettes that show counters, storage, and appliance quality.
- Primary bedroom with a straight‑on bed shot and a second view from the entry.
- Bathrooms with clean vanities and good fixture lighting.
- Balcony and view shots, exposed correctly for outdoors so the scene reads through windows.
- Building exterior, lobby, and amenities if permitted.
- A measured floor plan and, if appropriate, a 3D tour for remote buyers. These tools increase confidence and engagement. (NAR staging report)
Pro standards to request
- Consistent color and white balance across the set.
- Perspective correction so verticals stay true.
- Bracketed exposures for windows with strong views.
- Subtle editing that reflects reality. Enhancements should never mislead.
Professional photography tends to boost online engagement and can shorten days on market, especially in competitive neighborhoods like the Gold Coast. It is worth the line item. (Why pro photos matter)
Timeline and budget: what to expect
A simple timeline that works
- 3 to 6 weeks out: Agent walkthrough, define scope, and price strategy. Identify light repairs or small upgrades. Review cost‑versus‑value before green‑lighting bigger projects. (Cost vs Value)
- 2 to 3 weeks out: Book your stager and photographer. Complete paint touch‑ups and minor repairs. Line up a professional deep clean.
- 1 to 3 days out: Final styling, declutter, and confirm the shot list. Power on all bulbs. If exterior photos are planned, clear the entry and curb.
Budget ranges and ROI context
- Staging: NAR reports a median cost around $1,500. Staging can reduce time on market and often contributes to stronger offers. (NAR staging report)
- Photography: Typical metro packages run about $175 to $550+ depending on size and add‑ons like twilight, floor plans, or 3D tours. (Photography pricing guide)
- Upgrades: The Cost vs Value report shows which projects tend to recoup best. In many cases, light kitchen refreshes and entry updates beat upscale overhauls. (Cost vs Value)
Building logistics and permissions
High‑rise or historic address? Plan ahead.
- Confirm building rules early. Many associations require elevator reservations, vendor windows, and certificates of insurance. Ask management exactly what liability limits and endorsements they need before scheduling stagers or photographers. (Typical HOA COI guidance)
- Get permission for common‑area photos. Lobbies, gyms, rooftops, and courtyards often need written approval and, sometimes, a fee. Coordinate with the manager so security and residents are not disrupted.
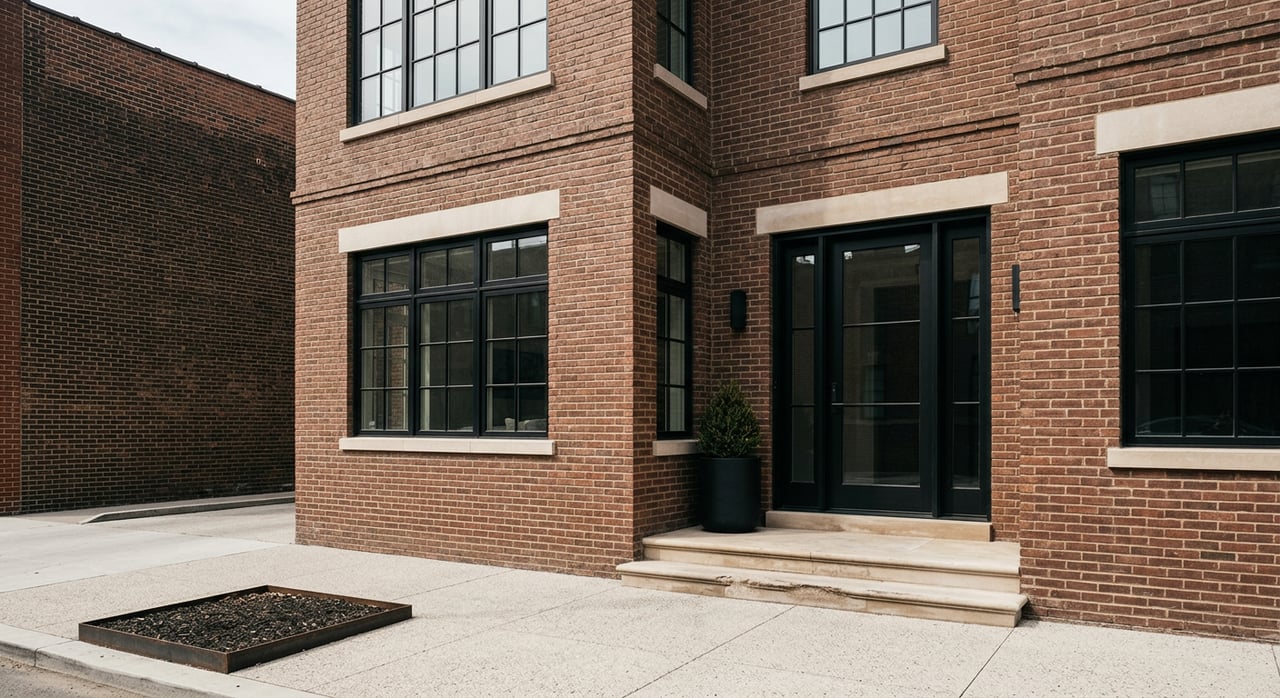
- Respect historic designations. Parts of the Gold Coast fall under landmark oversight. Do not plan exterior changes or visible signage without confirming rules with the Commission on Chicago Landmarks or your building manager. (Chicago Landmarks info)
- Drone use is optional and regulated. If you opt for aerial context, use a certified operator who can comply with downtown airspace requirements and building permissions.
Quick‑reference checklists
Photography‑day checklist
- Open all blinds and pull shades to the top. Open interior doors to extend sight lines.
- Turn on all lights, including lamps and under‑cabinet where available, and replace any burnt bulbs.
- Clear countertops except one or two styled items. Hide toiletries, bins, pet gear, and floor mats.
- Remove cars from the curb if exterior shots are planned and sweep the entry.
Low‑cost staging wins under $500
- Touch‑up paint with a fresh neutral in high‑traffic areas.
- Swap dated cabinet hardware and install uniform soft‑white bulbs.
- Add new hotel‑style bedding and plush towels.
- Edit closets to about half full so storage reads generous.
Next steps
Your home only gets a few seconds to earn a click and a showing. A calm, design‑first approach to staging and a disciplined photo plan will help you compete among the Gold Coast’s best. If you would like hands‑on coordination, curated vendors, and polished marketing from start to finish, connect with Colby Price to schedule your concierge consultation.
FAQs
What rooms should I stage first in a Gold Coast condo?
- Focus on the living room, primary bedroom, and kitchen, since these spaces drive first impressions and offer decisions. (NAR staging report)
How much should I budget for professional listing photos in Chicago?
- Expect roughly $175 to $550+ depending on square footage and add‑ons like twilight, floor plans, or 3D tours. (Photography pricing guide)
Do I need permission to photograph my building’s lobby and amenities?
- Yes. Most associations require written approval and may set time, access, and security rules for common‑area photography.
Are exterior staging changes allowed in the Gold Coast Historic District?
- Exterior or publicly visible changes may need landmark review, so confirm with the Commission on Chicago Landmarks or your manager before acting. (Chicago Landmarks info)
What is the typical cost of professional staging for a condo?
- NAR cites a median staging cost around $1,500, with scope and property size affecting the final number. (NAR staging report)
Will professional photos really help my Gold Coast listing?
- Industry analysis shows professionally photographed listings attract more clicks and often sell faster, which is key in a competitive area. (Why pro photos matter)